How do I open a shop on Concordia Market?
The following tutorial will walk you through the process of opening-up your shop on Concordia Market. You may also find the video tutorial a helpful supplement to this tutorial.
Open an Account
To open a shop and become a seller on Concordia Market, choose the option below that works best for you.
If you already have an account on Concordia Market, do the following to open your shop:
1- Go to Concordia Market.
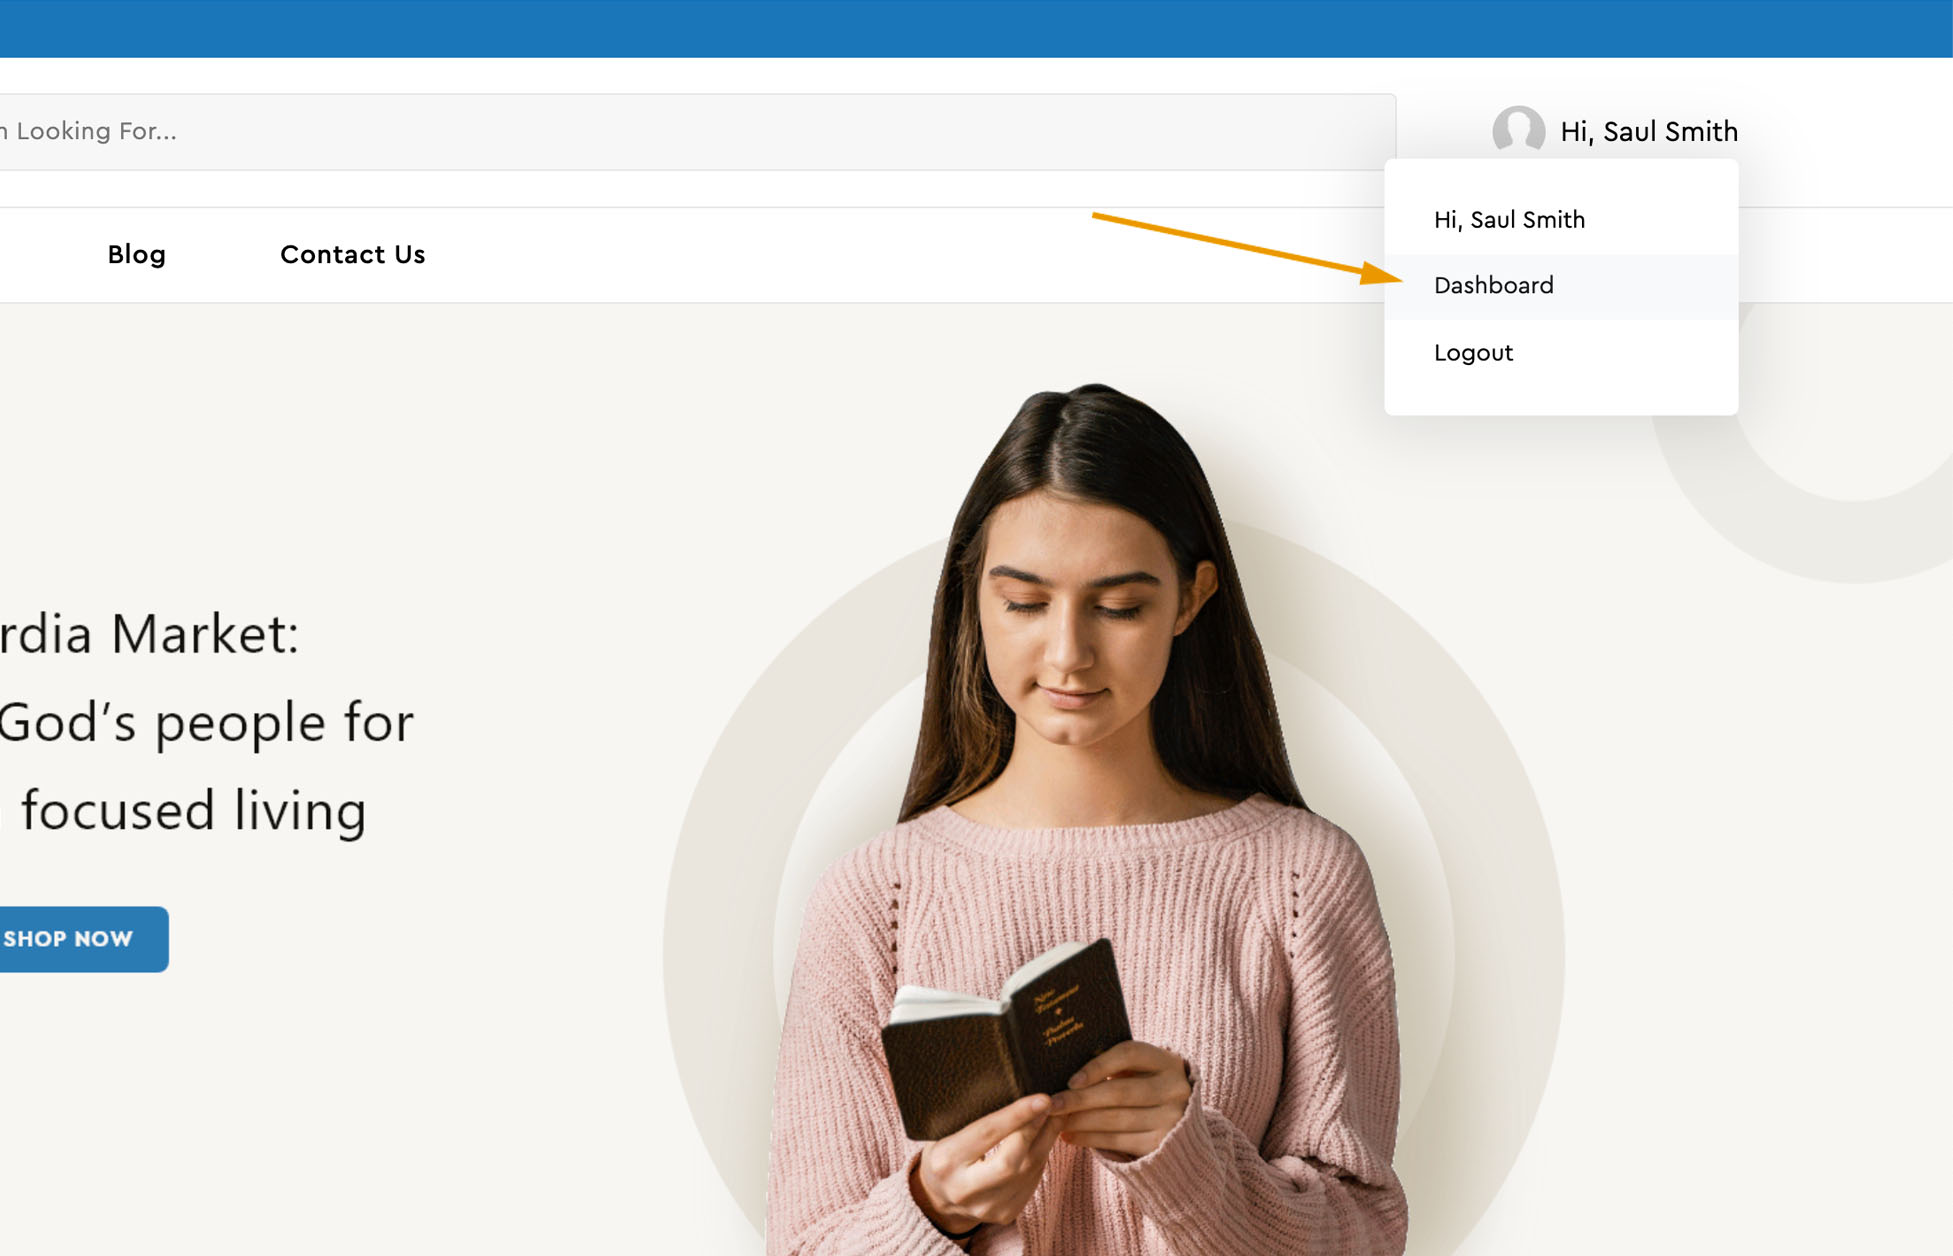
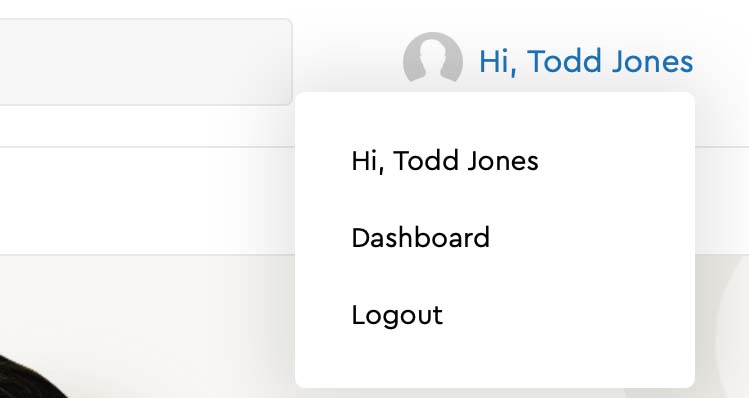
2- Log into your account, and select the "Dashboard" option in the upper right corner of the window.
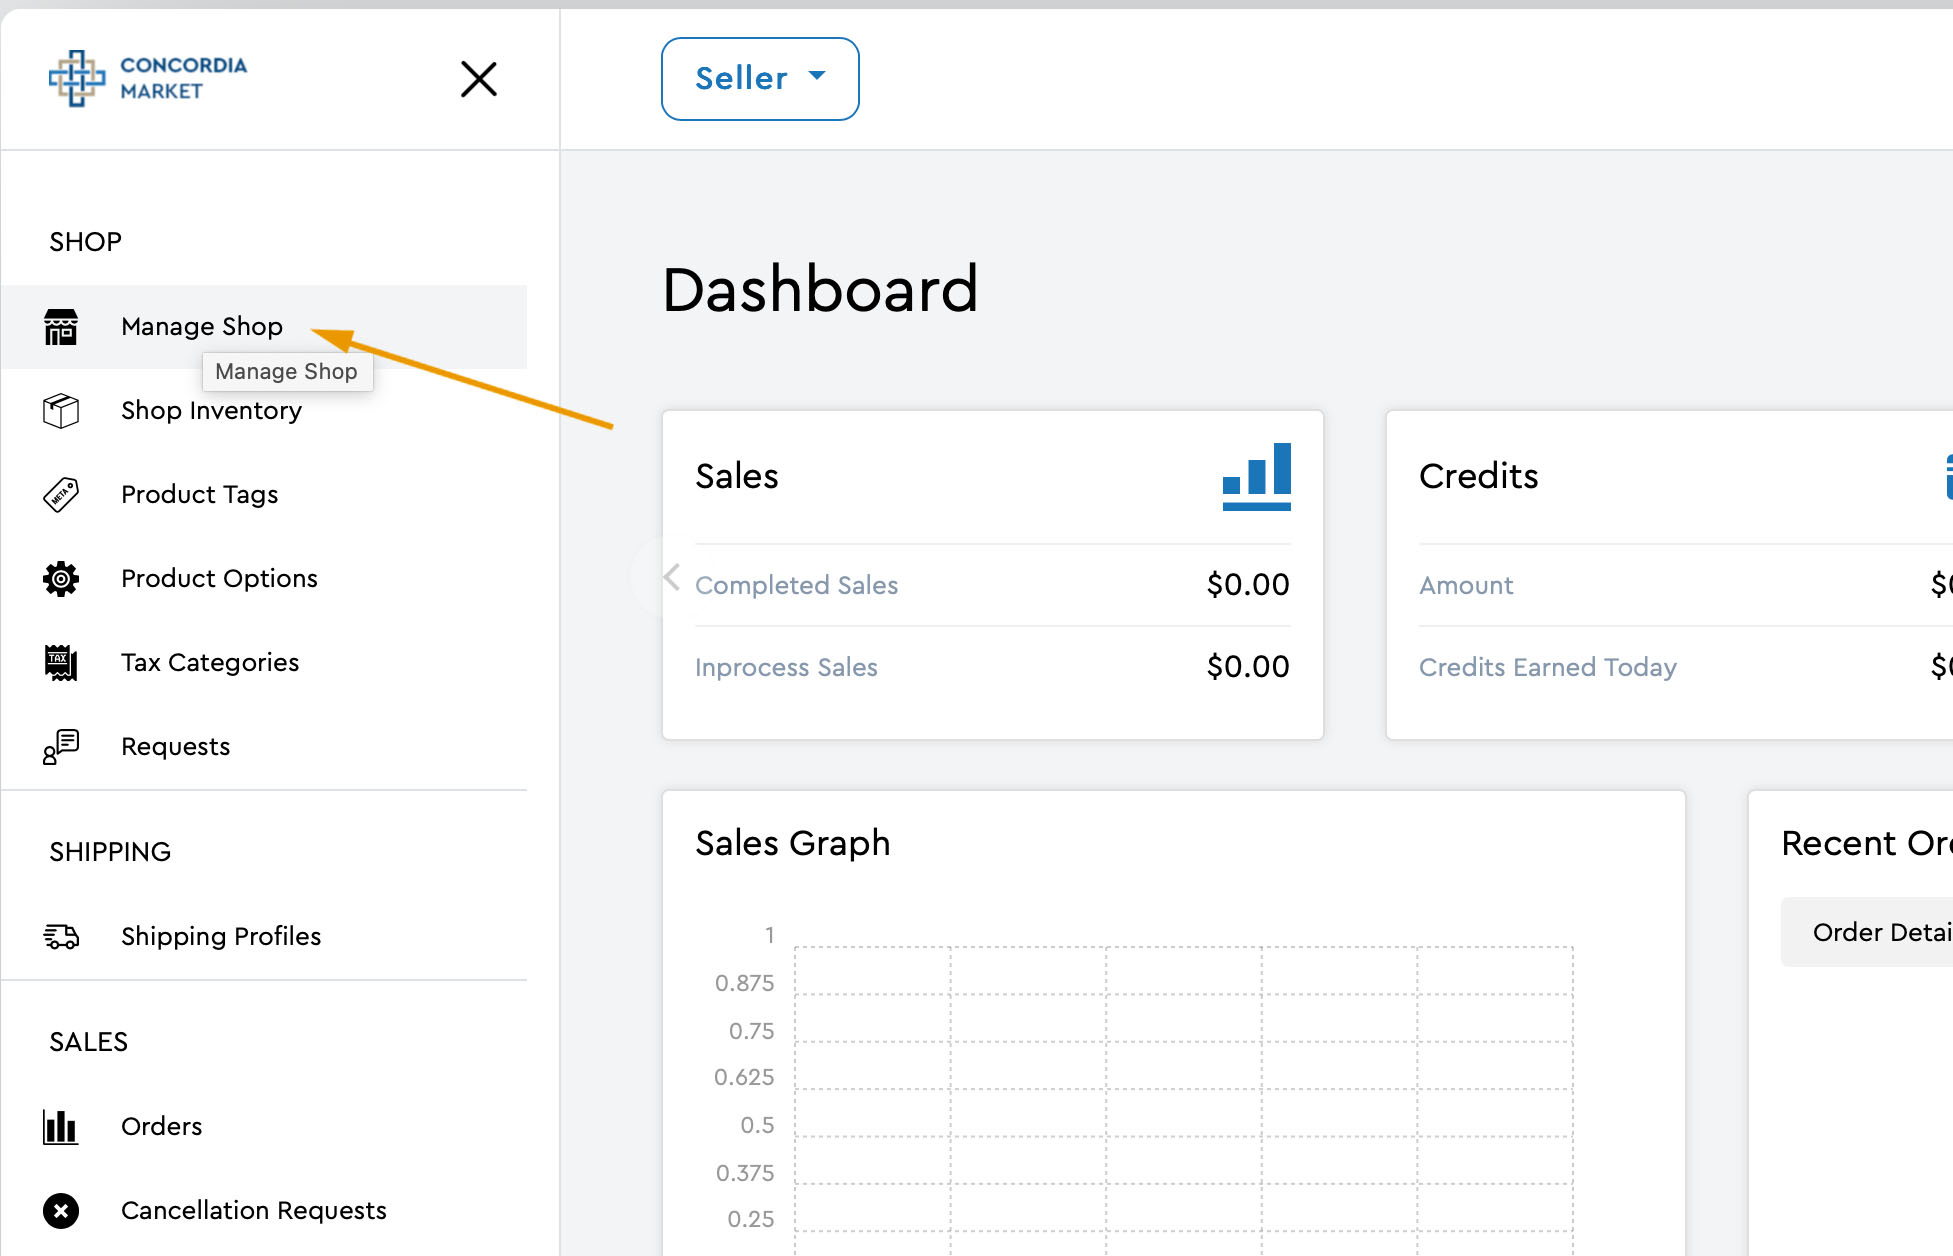
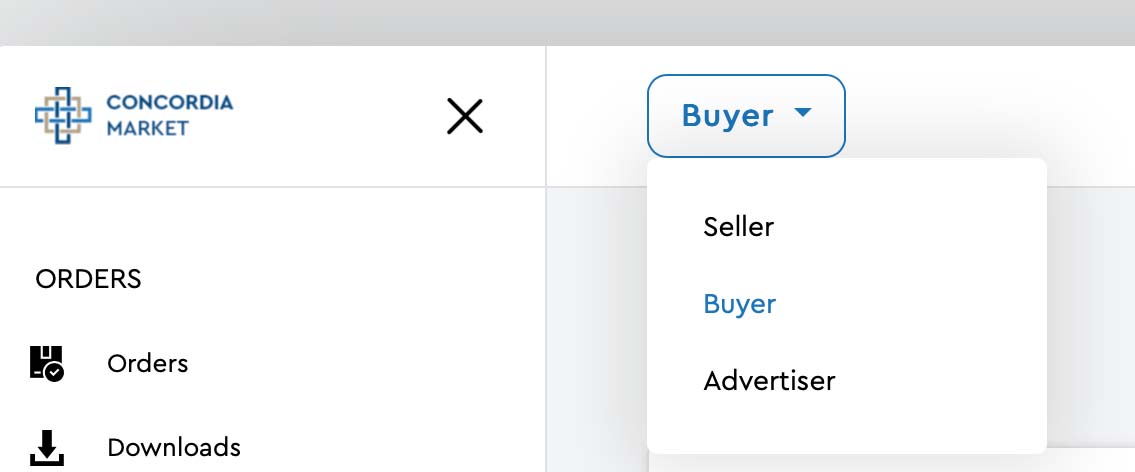
3- Select the dropdown button labeled "Buyer." Select the "Seller" option.
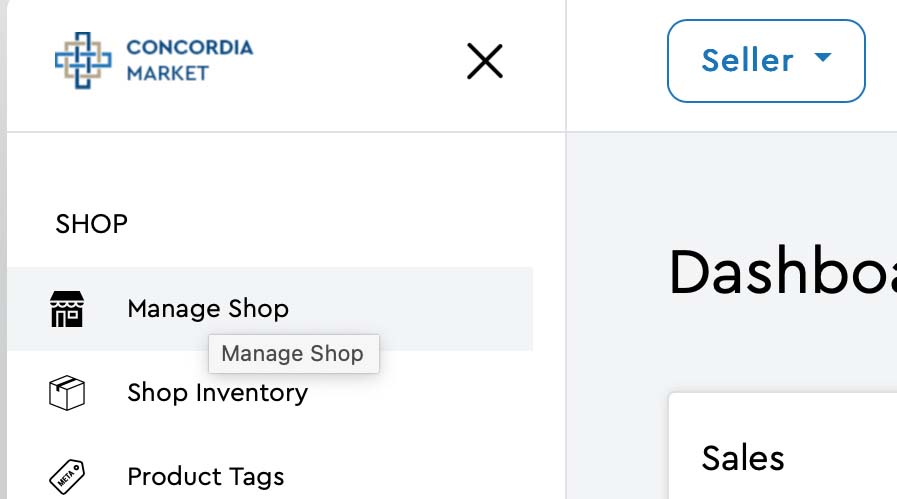
4- Select the "Manage Shop" option from the left sidebar.
If you do not have an account on Concordia Market, do the following to open your shop:
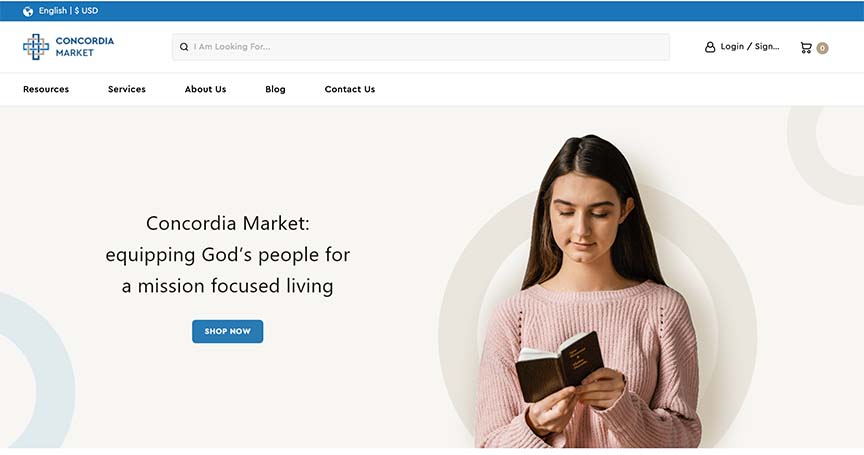
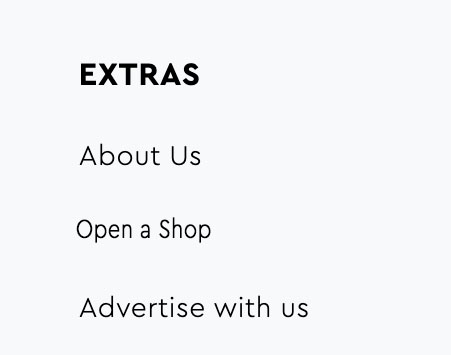
1- Select the "Open a Shop" option from the Extra's menu at the bottom of the home page.
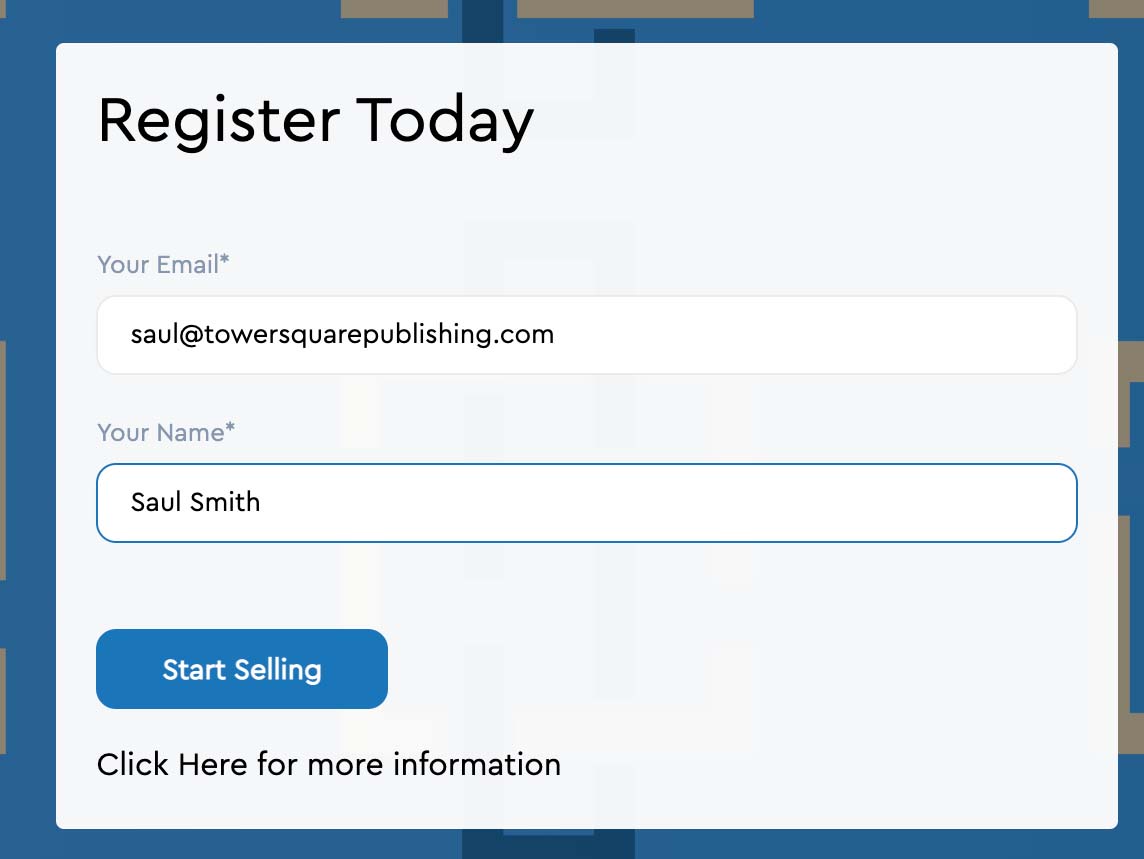
2- Follow the prompts on the following screens that guide you through the registration process. You will be prompted to login when the registration process is complete.
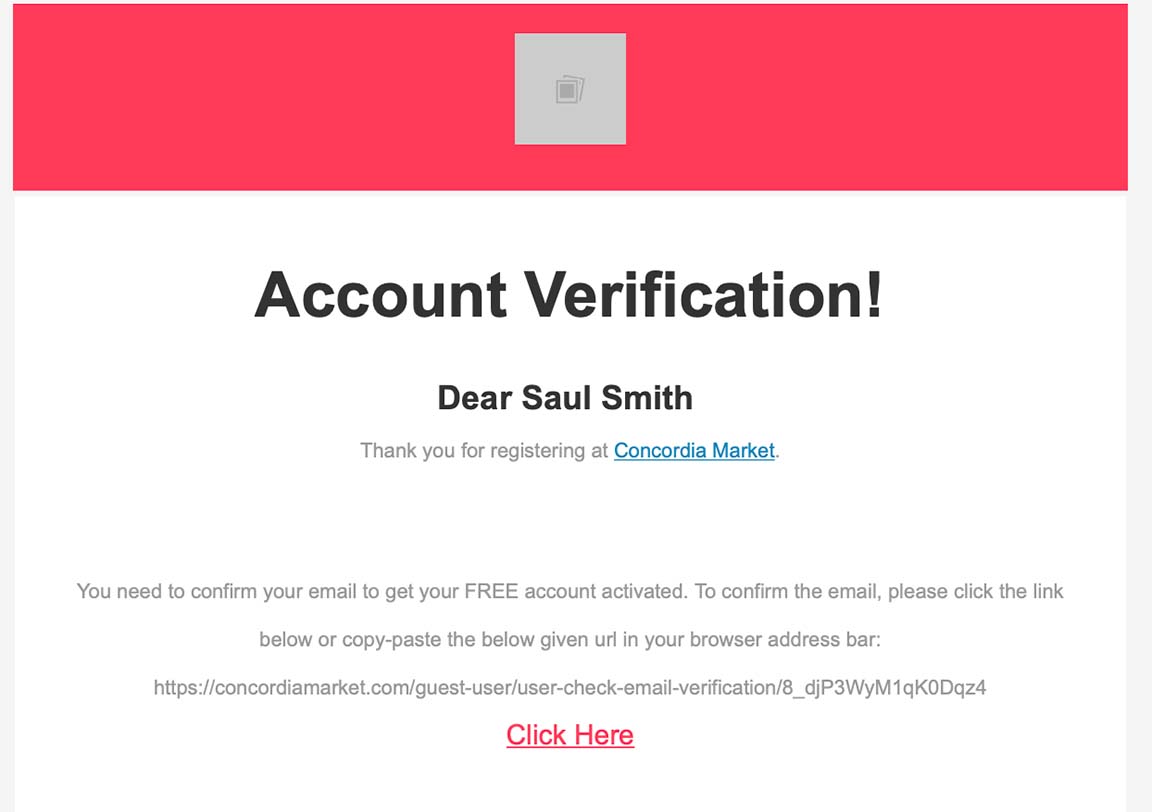
3- Check your email and verify your email address before continuing.
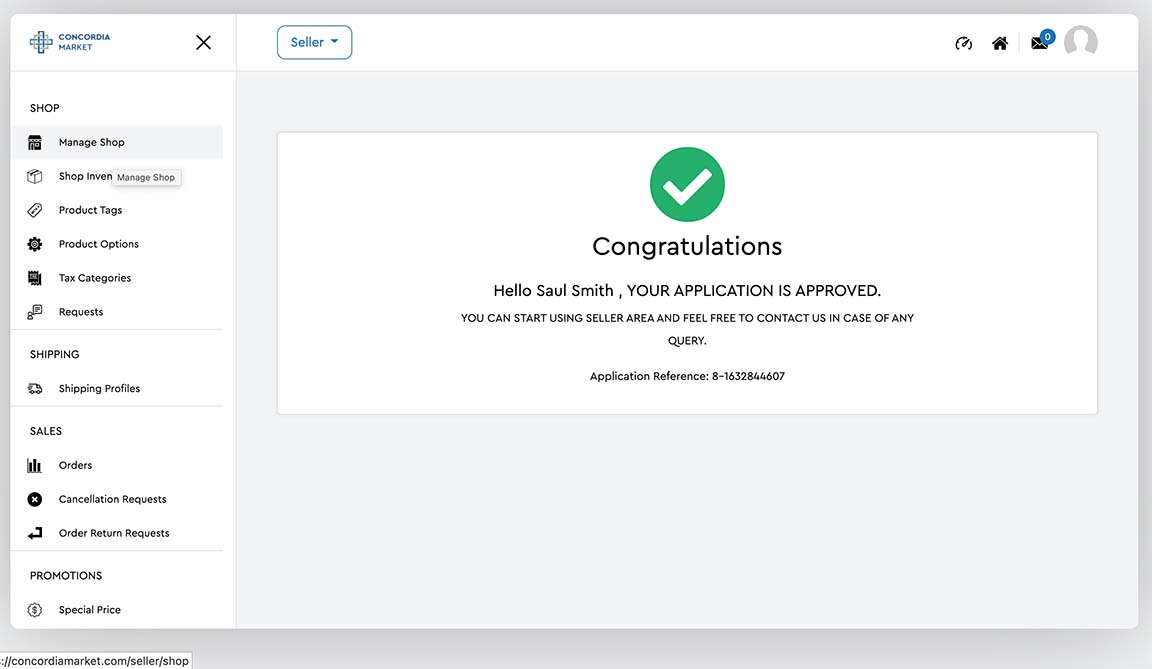
4- Login and select "Manage Shop" from the left sidebar option once you've verified your email.
Set-up your Shop
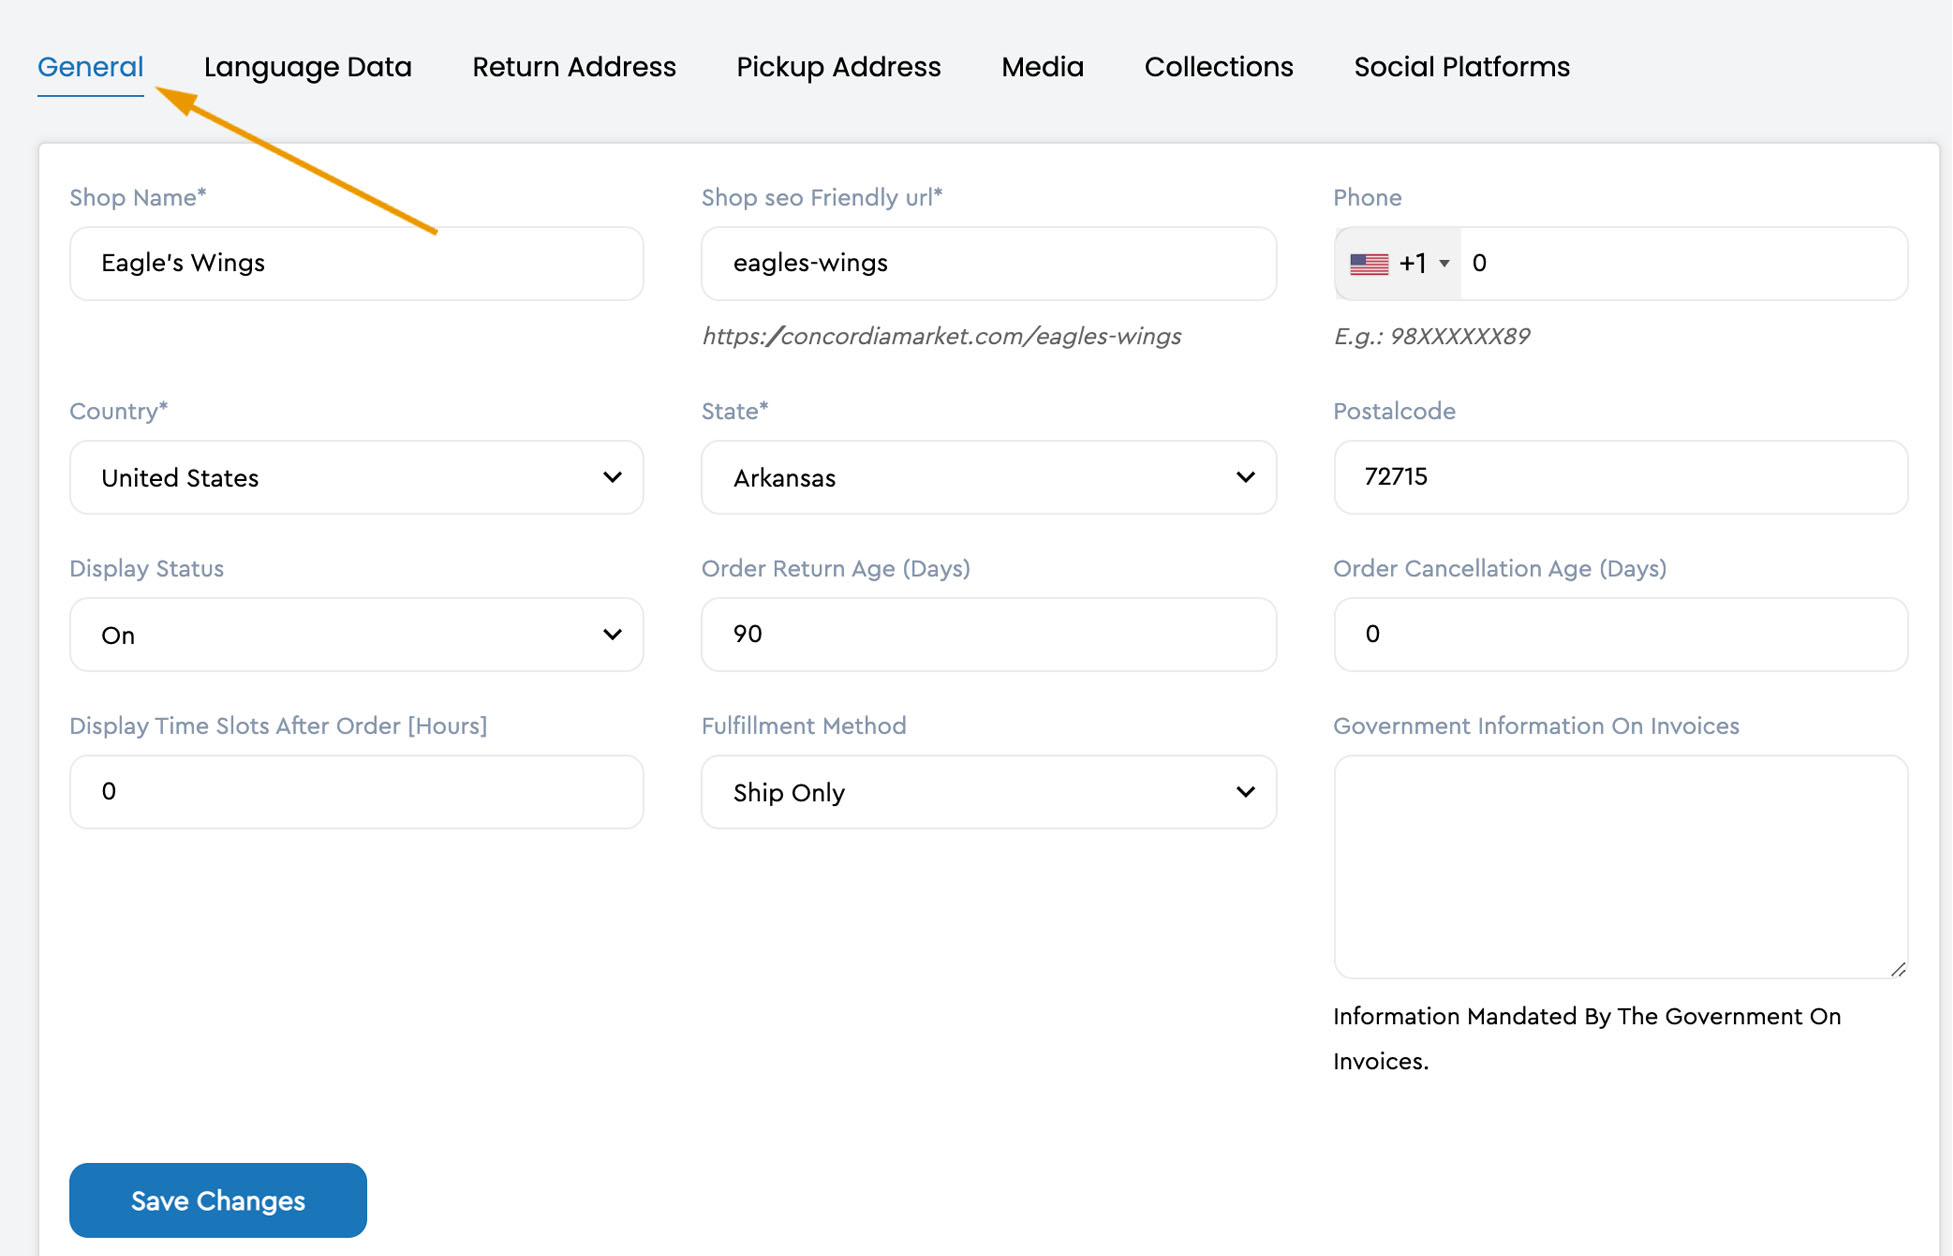
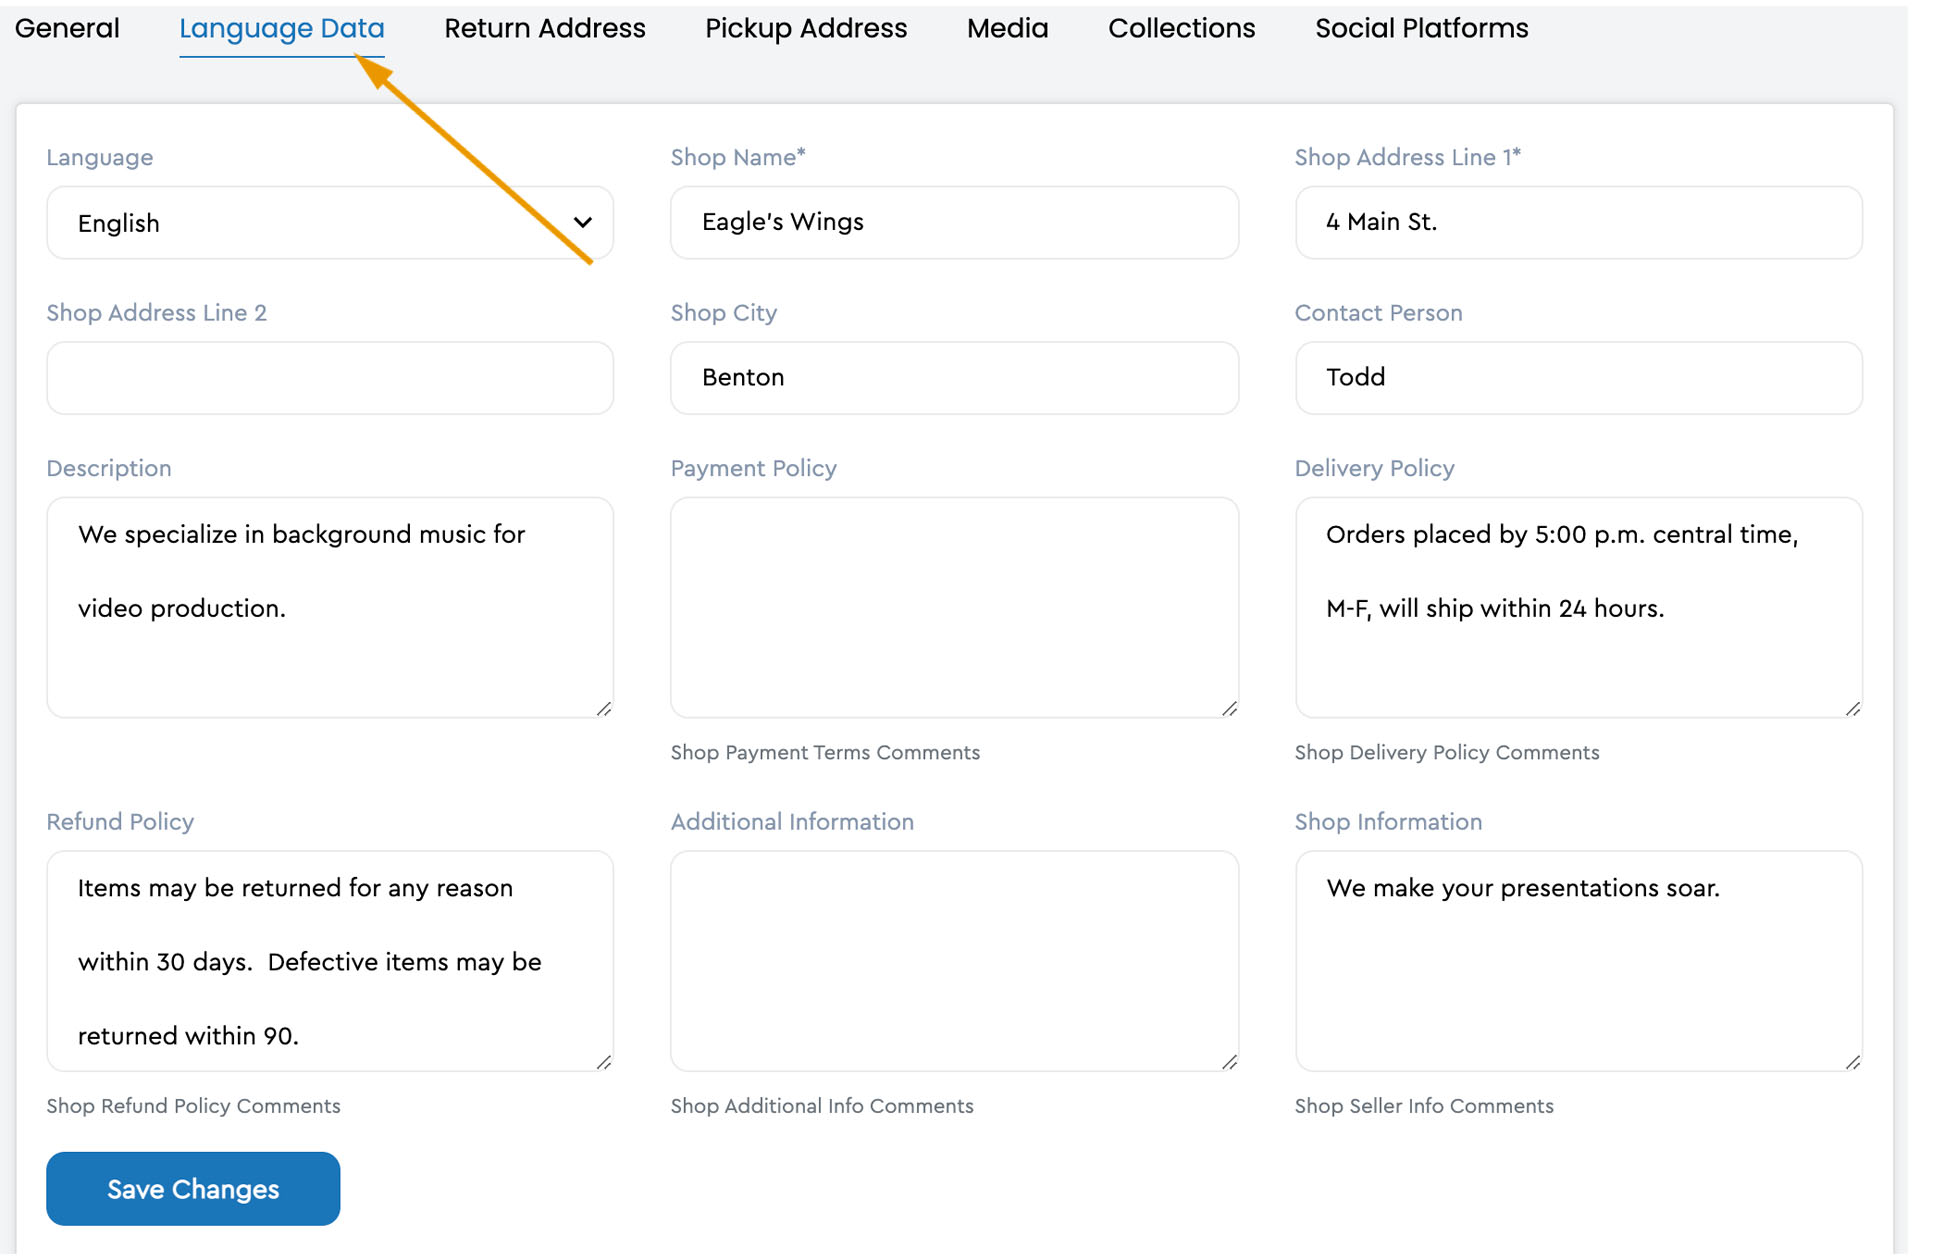
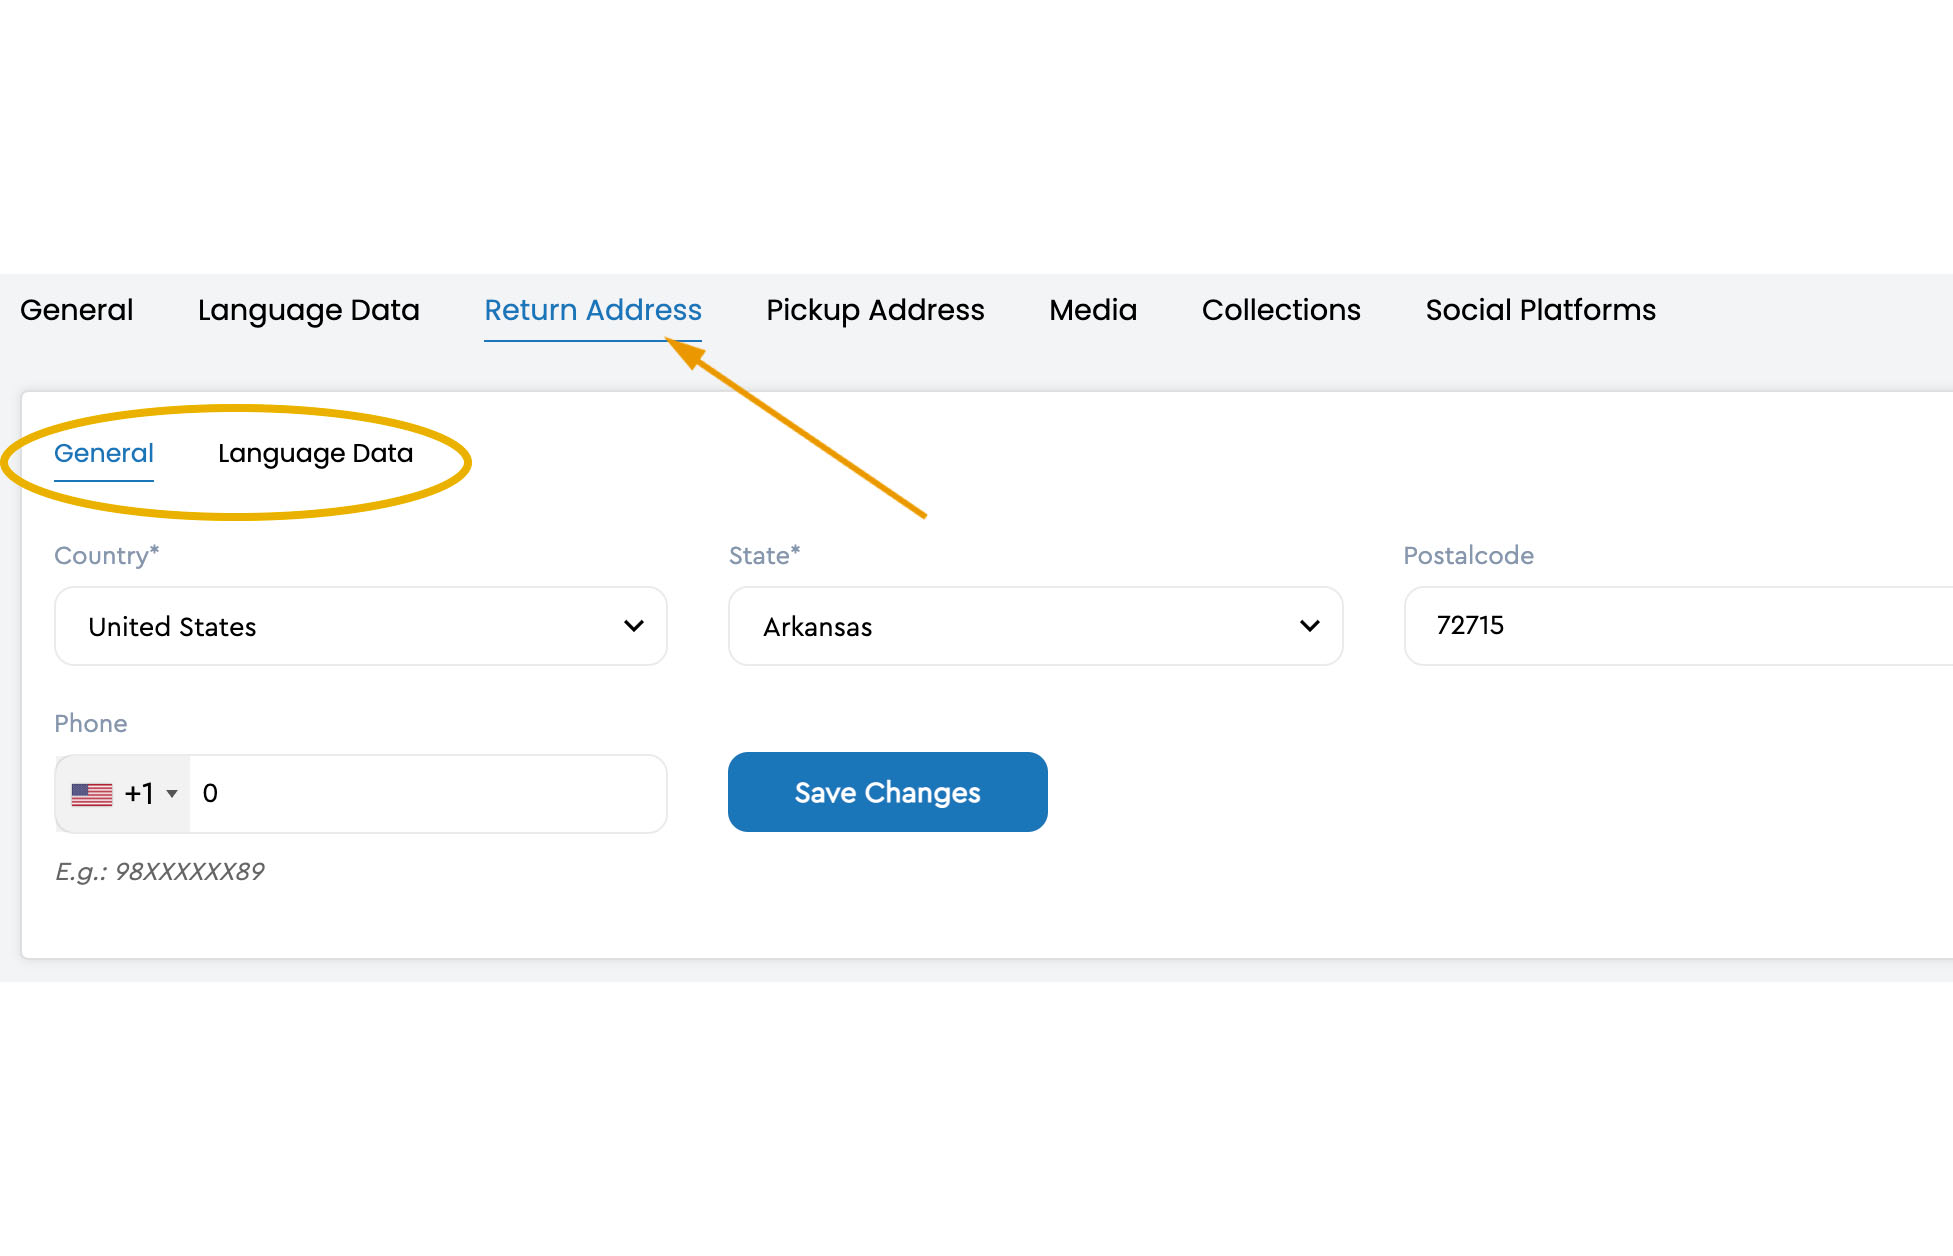
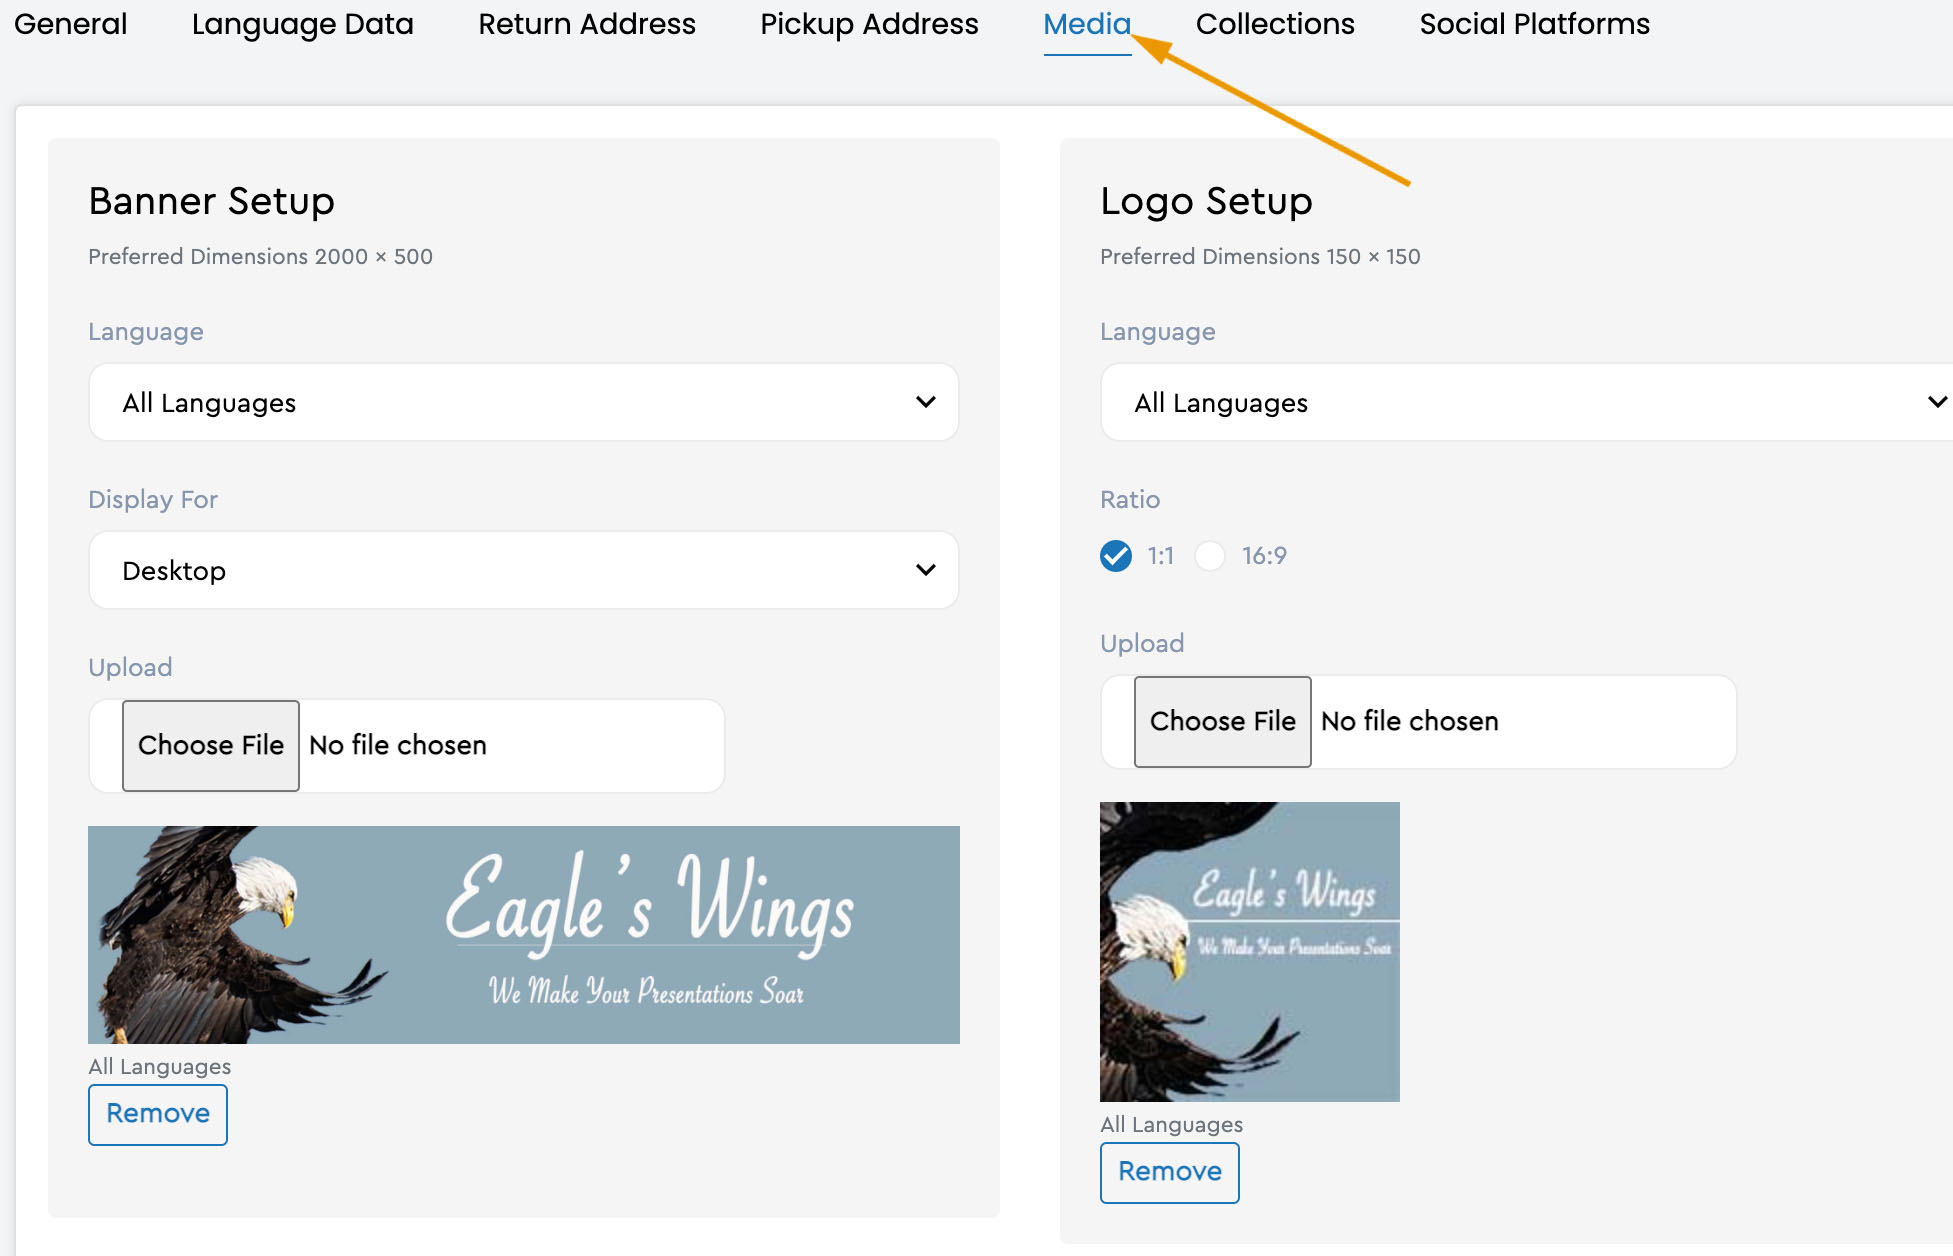
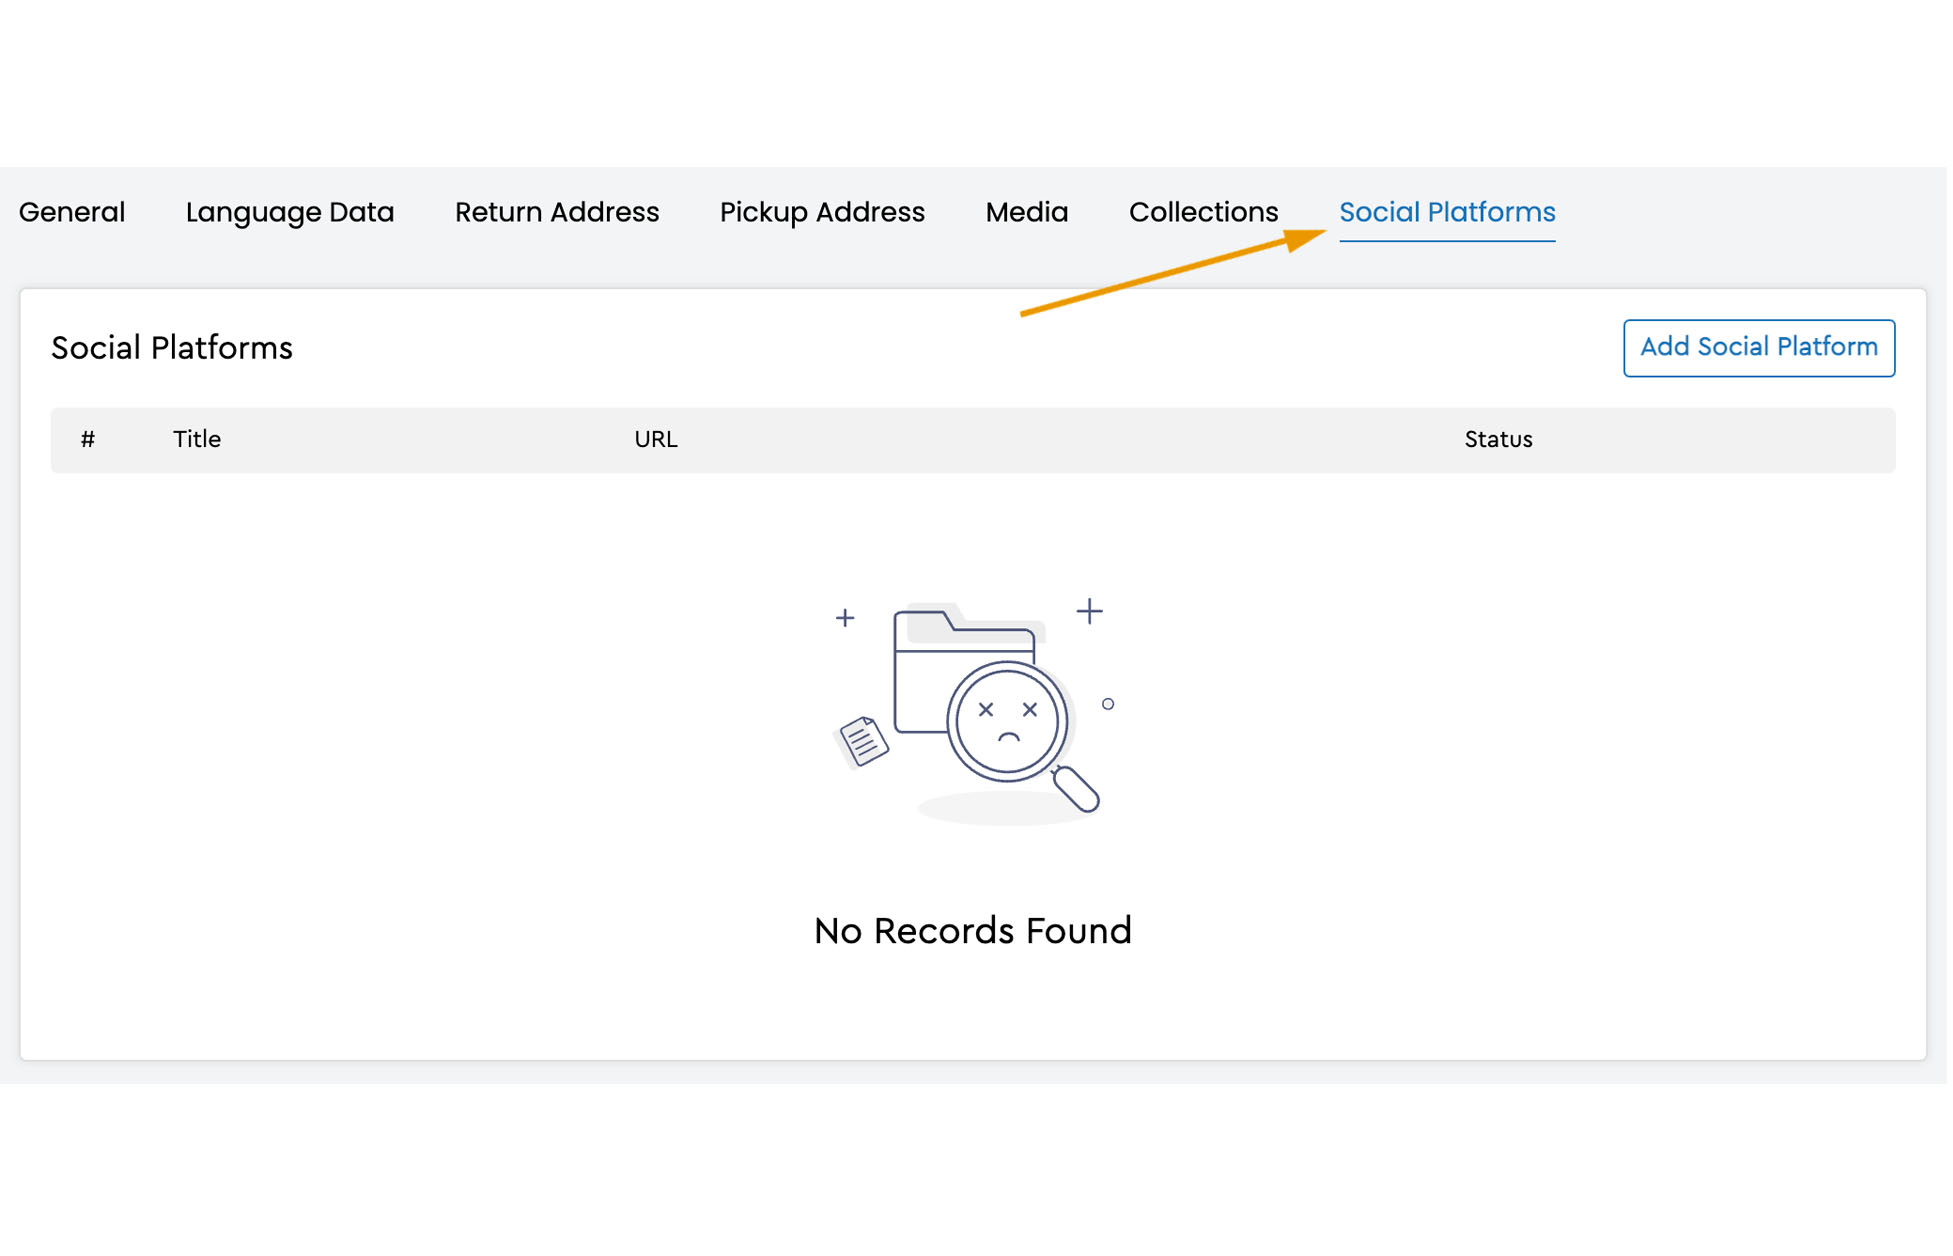
Setting up the shop involves creating the shop's identity, communication channels, and listings for your products. The tabs below provide a quick overview. Don't be overwhelmed with the number of windows, most shops will only need to complete the first two tabs and the media tab. The fourth tab, Pick-up Address, and the sixth tab, collections, are not needed at this time. They will be covered in a separate tutorial. A video tutorial demonstrating the use of the system is available in our partner support area.
Add products to the shop.
The processes for adding products to your shop vary with the type of product that is to be added. Clothing items might include color and size variations. Digital downloads might be ebooks, music, or video and include preview files. Shop owners offering services upload content that will facilitate the development of a relationship with new customers. Shops specializing in experiences will off event packages.
The Concordia Market framework allows shop owners to create product listings one at a time or bulk, uploading products from a previous online store. While the process has a learning curve, we are more than ready to walk with you through the process. Our shop partners' support site includes training video, step-by-step tutorials, and support documents.

